
Mobile App Development
How to Build a Mobile App: 7 Steps from Idea to Launch
Where do you start with mobile app development? Follow seven steps covering scope, prototyping, technology, device testing and App Store/Google Play release.
Updated: 2026-10-27
Where should mobile app development begin?
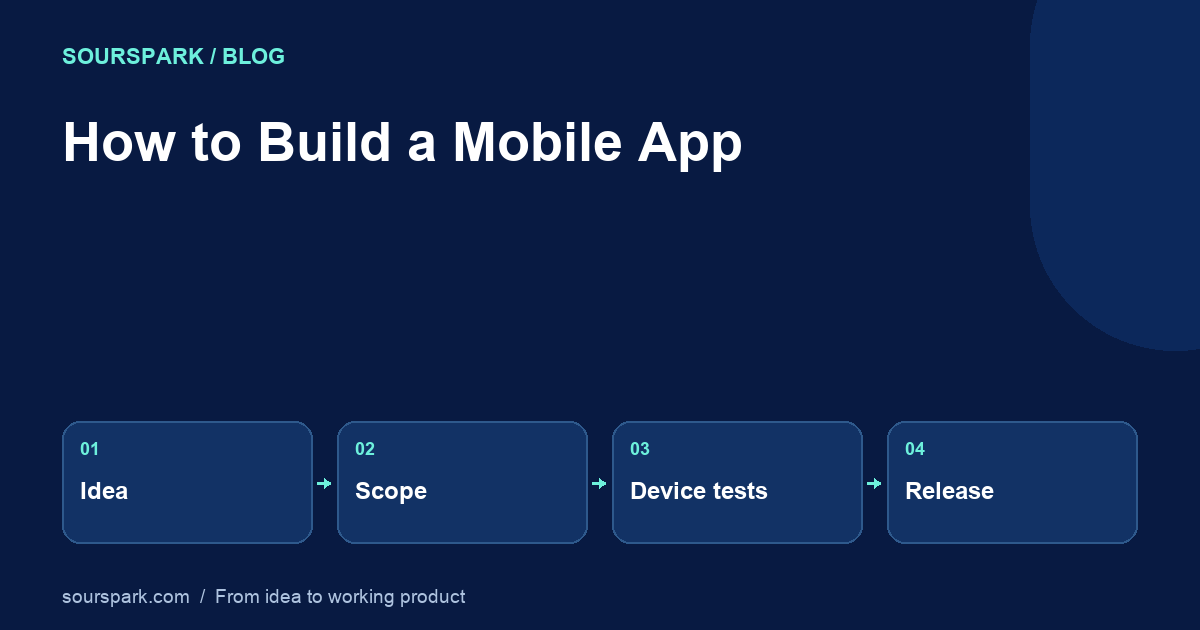
Start with the person you want to help and one task the app should complete. Test that journey in a prototype, then choose no-code, shared code or native development around your budget, device requirements and maintenance needs. A release-ready app also needs privacy information, real-device checks, store assets and a support plan.
- Identify the user and one main task.
- Write down the first release’s scope and success criteria.
- Test the screen flow with a clickable prototype.
- Choose no-code, shared-code or native development to fit the needs.
- Connect data, the backend and essential integrations.
- Test core journeys and failure states on real devices.
- Plan store submission, support and ongoing maintenance.
Define one complete user job
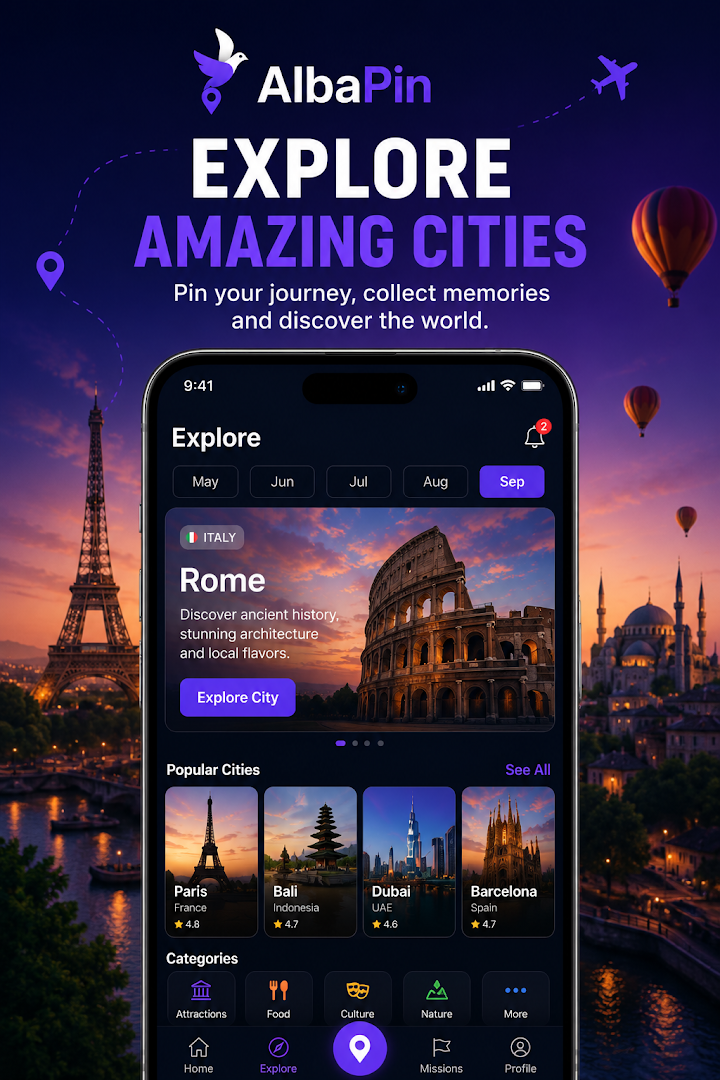
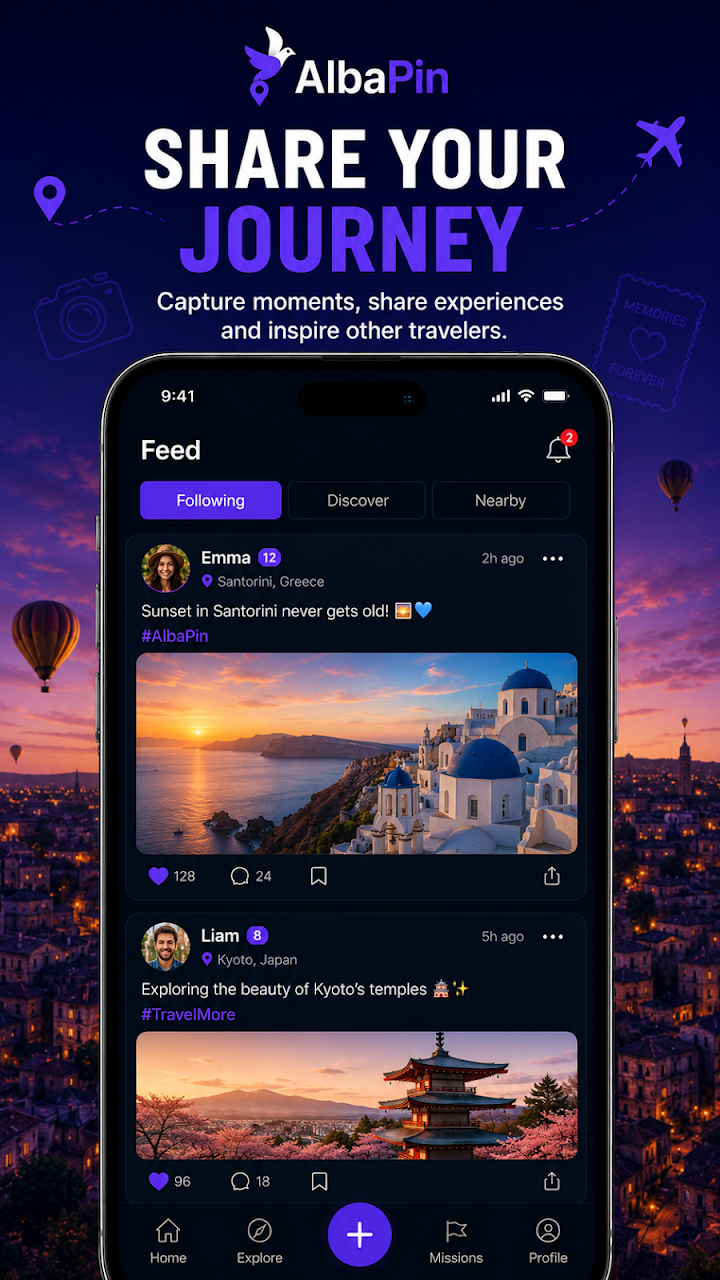
Start with the result a person needs, rather than a list of screens. For a city discovery app, that might mean finding a nearby mission, understanding it and saving progress. Keep the first release focused on that complete journey. Social features and sophisticated recommendations can wait.
Write down the target audience, entry point, success condition and exclusions. A shared definition of done helps the product owner and developer make consistent decisions when new ideas arrive.
Try the journey before implementation
Connect the entry, action and result screens in a clickable prototype. Ask a few people to complete a task without telling them where to tap. A small observation session can reveal confusing labels; it is not statistical proof of product demand.
Include empty lists, denied permissions and failed requests. A useful prototype shows how a person recovers from a problem as well as how the ideal journey works.
Choose technology around requirements
A shared iOS and Android app may suit React Native, while intensive device integration or platform-specific behavior can justify native development. Compare team experience, maintenance effort and required capabilities.
Prototype the riskiest dependency first: location, payments, BLE or camera access. Confirm it works on the intended devices before committing to the full schedule. Define authorization and data ownership before connecting attractive screens to a backend.
Which approach fits your first release?
- A clickable prototype may be enough to test an idea’s screen flow.
- Before choosing shared code for iOS and Android, verify the plugins and native device features your app needs.
- Try Bluetooth, background tasks or demanding graphics in a small device test before committing to the architecture.
Verify on devices and prepare release
Try slow networks, process restarts, large text and denied permissions on physical phones. Check that one user cannot access another user’s records. Keep server secrets off the device.
Prepare screenshots that match actual functionality, a working support address and privacy information reflecting the shipped features. Assign responsibility for monitoring errors and publishing fixes after release. A store listing begins the maintenance phase rather than ending development.
Frequently asked questions
Can I build an app without coding?
Simple journeys can be prototyped with tools. A released product still needs data access controls, error handling, device checks and a maintenance owner.
What belongs in the first release?
One complete user job, understandable errors and a working support path are a useful starting point.
SourSpark
Define the scope of your first release.
Share the audience, core journey and technical uncertainties so we can discuss a practical starting plan.
Tell us about your project